Distressed jeans have become a fashion staple, adding a touch of edginess and character to any outfit.
Whether you want to give an old pair of jeans a new lease on life or create a unique and personalized look, distressing jeans is a fun and creative DIY project.
In this comprehensive guide, we will walk you through the step-by-step process of distressing jeans, ensuring that you achieve the perfect worn-in look.
Step 1: Gather the Necessary Materials
Before you begin distressing your jeans, make sure you have all the materials you need:
- A pair of jeans (preferably made of 100% cotton for easier distressing)
- Scissors
- Sandpaper (medium to coarse grit)
- A cheese grater
- Chalk or a fabric marker
- A seam ripper
- Optional: bleach or fabric dye
Buy: Korean Sports Men Stacked Pants
Step 2: Plan Your Distressing
Before you start cutting and distressing your jeans, it’s important to plan out the areas you want to distress. Use chalk or a fabric marker to mark the spots where you want to create frays, holes, or abrasions. This will help you achieve a more intentional and controlled distressed look.
Step 3: Create Frays and Holes
Now it’s time to start distressing your jeans. Begin by using a pair of scissors to create small cuts and frays along the edges of the pockets, hems, and knees. Be careful not to cut too much at once; you can always make the cuts bigger later if desired.
To create holes, use a seam ripper or scissors to carefully cut horizontal or vertical slits in the jeans. Gently pull the threads around the slits to create a frayed effect. Remember, less is more when it comes to distressing, so start with small holes and gradually increase the size if needed.
Buy: Black Stacked Jeans For Men
Step 4: Add Abrasions and Fading
To create a more worn-in look, use sandpaper or a cheese grater to add abrasions and fading to your jeans. Rub the sandpaper or grater over the areas you want to distress, focusing on the knees, thighs, and back pockets. This will give your jeans a naturally faded and worn appearance.
Buy: Ivory White Stacked Jeans For Men
Step 5: Optional: Bleach or Dye
If you want to take your distressed jeans to the next level, you can experiment with bleach or fabric dye. Bleach can be used to create a bleached effect or lighten specific areas of your jeans.
Fabric dye, on the other hand, allows you to add color to your distressed jeans, giving them a unique and vibrant look.
Follow the instructions on the bleach or dye packaging carefully to achieve the desired effect.
Buy: Beige Stacked Jeans For Men
Step 6: Wash and Dry
Once you are satisfied with the distressing and any optional bleaching or dyeing, it’s time to wash and dry your jeans.
This will help set the distressing and remove any excess dye or bleach. Follow the care instructions on your jeans and wash them separately to prevent any color bleeding.
Buy: Thick Warm Bottom Stacked Leggings Kids
Step 7: Style and Enjoy
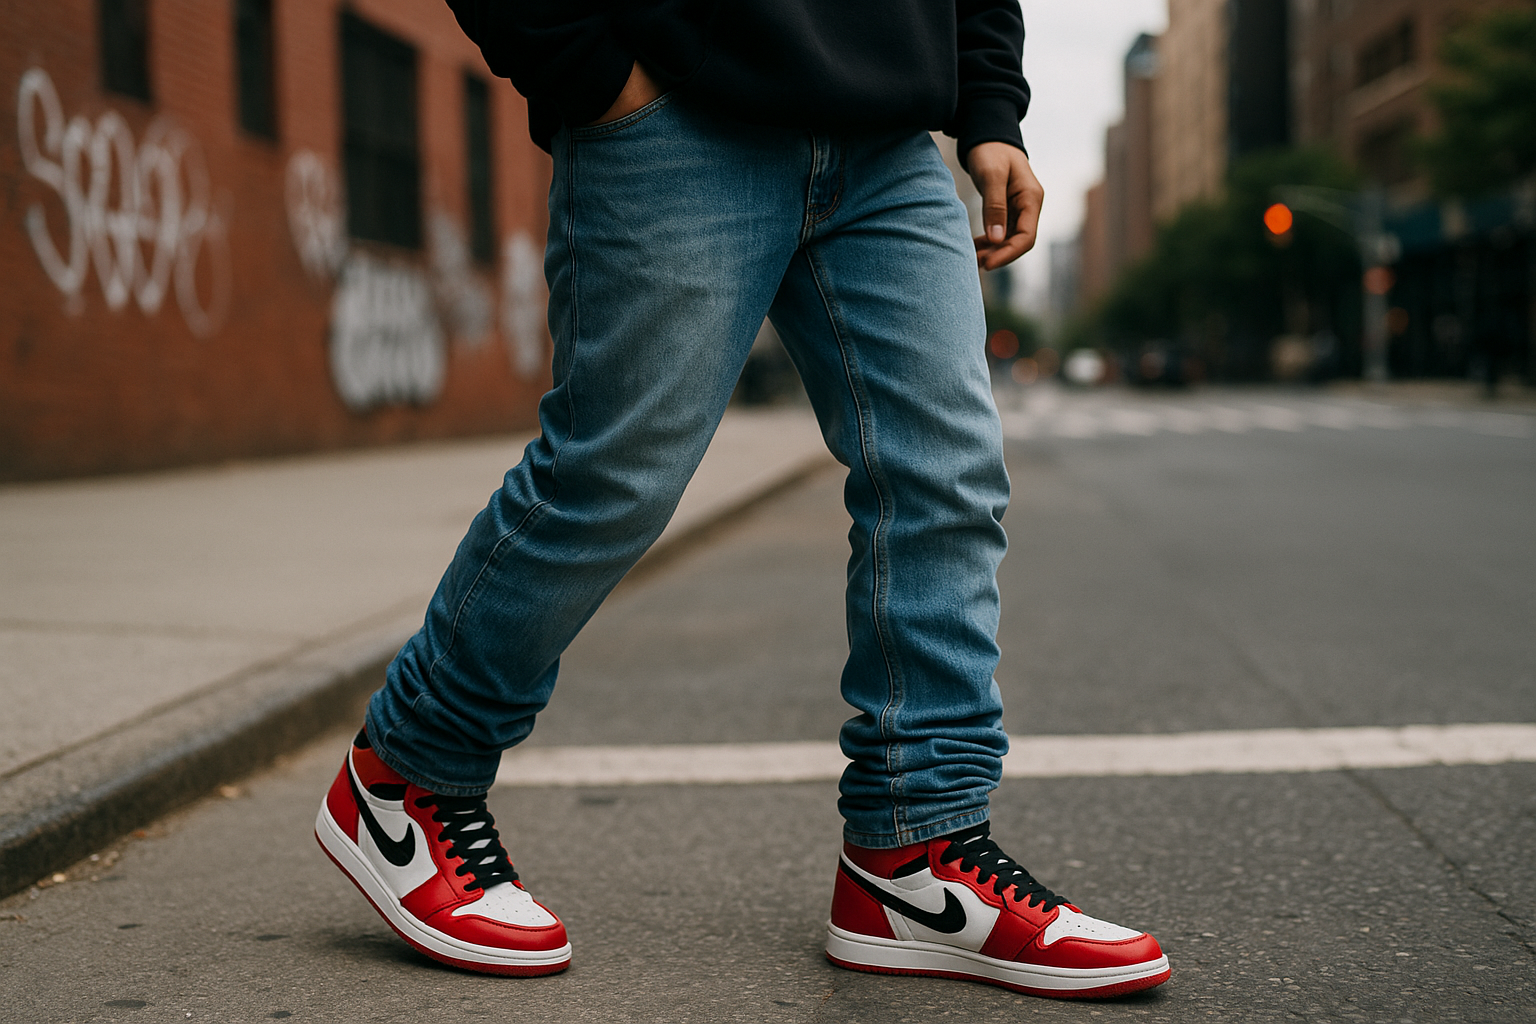
Now that your distressed jeans are ready, it’s time to style them and show off your unique creation. Pair them with a simple t-shirt and sneakers for a casual look, or dress them up with a blouse and heels for a more polished ensemble. The possibilities are endless!
Buy: Pink Stacked Jeans For Men
Distressing jeans is a creative and rewarding DIY project that allows you to breathe new life into old denim or create a personalized fashion statement. By following this step-by-step guide, you can confidently distress your jeans and achieve the perfect worn-in look. Remember to take your time, experiment, and have fun with the process. Happy distressing!